My wife came to my lab and gave me a string of Christmas lights while telling me,”here, can you fix it” After testing 3 of those tiny bulbs with a multimeter I had enough of it. There must be a more high-tech method to find the bad bulb. The biggest problem is there can be more as one bad bulb.
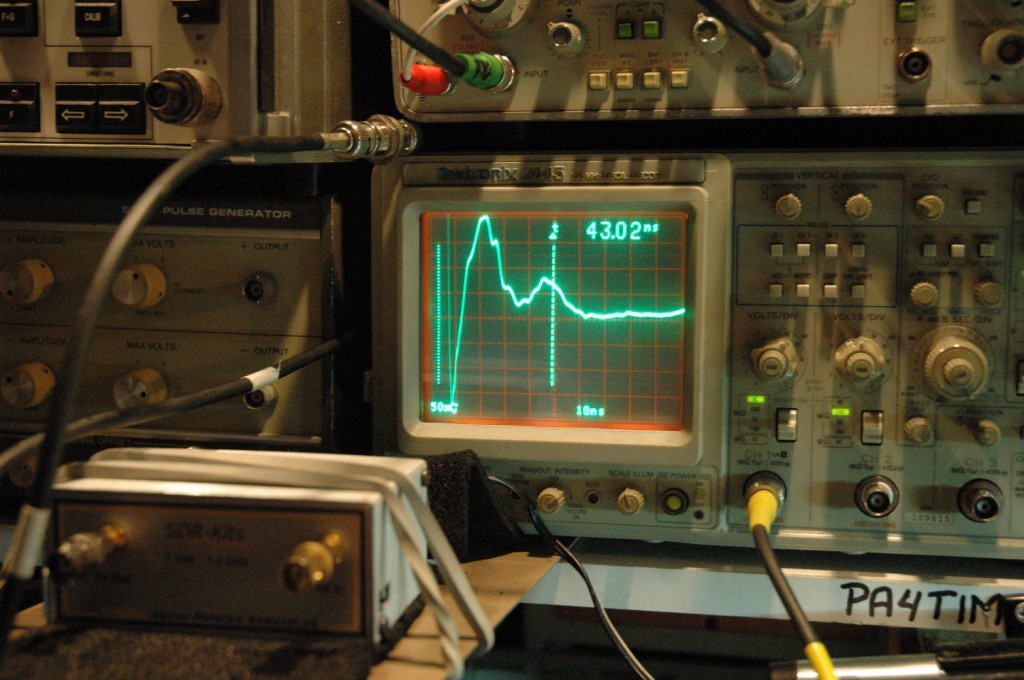
The best way turned out to be TRD, (time domain reflection measurement ) I connected the mainsplug to a banana to bnc adapter and connected it to a TDR setup removed a bulb in the middle and started the measurement. You see a lot of echo’s caused by the light bulbs. There are many types of strings and not all can be tested this way. This was more a nice excuse to do some measurements.
The pictures are from a short string. That is more difficult as a long string. If you remove a lightbulb at a known distance and replace it with a broken one you can see how a defect bulb shows up. But the more easy way is to start half way by removing a bulb. If you do not see a change on the screen the bad bulb is more towards the input. Then take the half of that and look for a change. This way you find all bad bulbs in a short time.
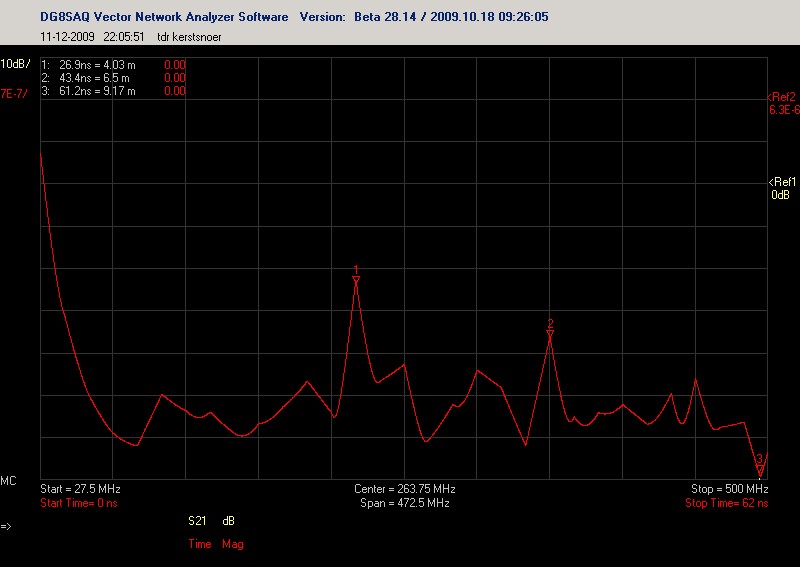
Even better is a VNA with TDR function. This shows the distance to the first bad lightbulb. If the string has lights that short if the go bad you see flatter spots.
The first peak is the transition from coax to the string. Marker 3 is the end of the string. Marker 2 the dead lightbulb.
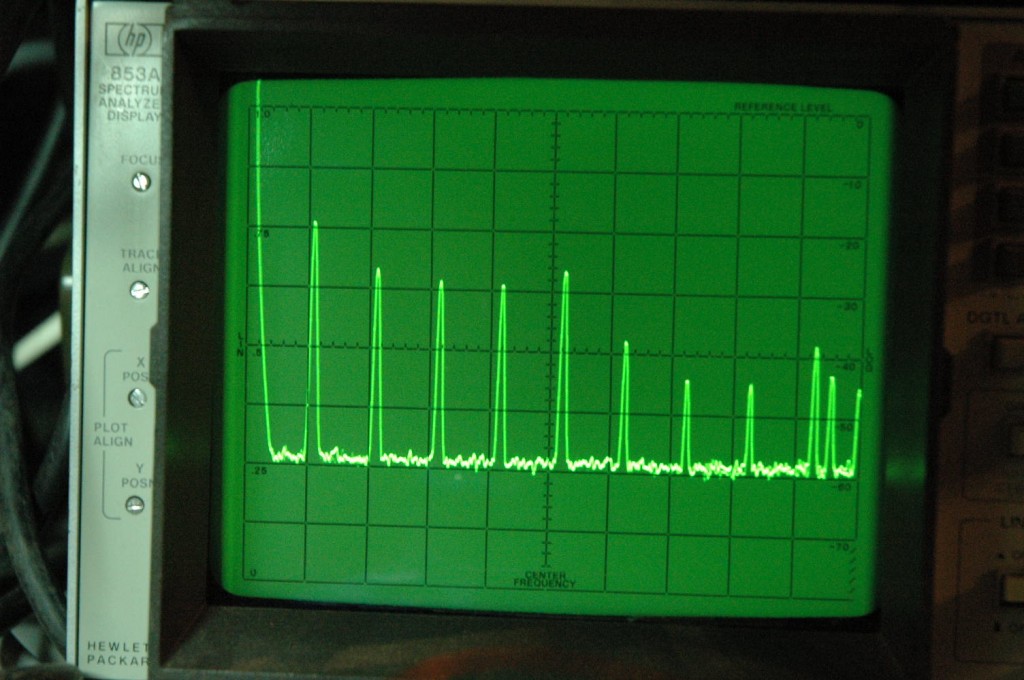
I tried also feeding the string with a RF generator and pick up the RF signal with a “sniffer” probe (little coil or EH probe) But that was not a success. I think an open lightbulb behaves like a capacitor so I then used a more sensitive spectrum analyzer to pick up the signal . That showed a strange effect. Very cool ![]() a light-string as RF mixer.
a light-string as RF mixer.
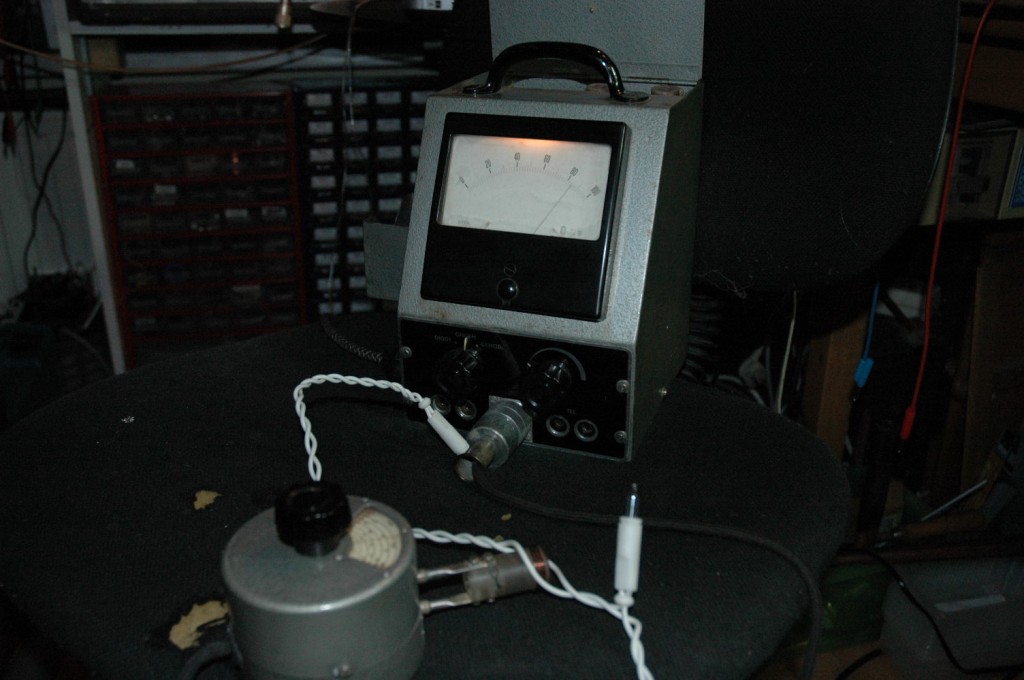
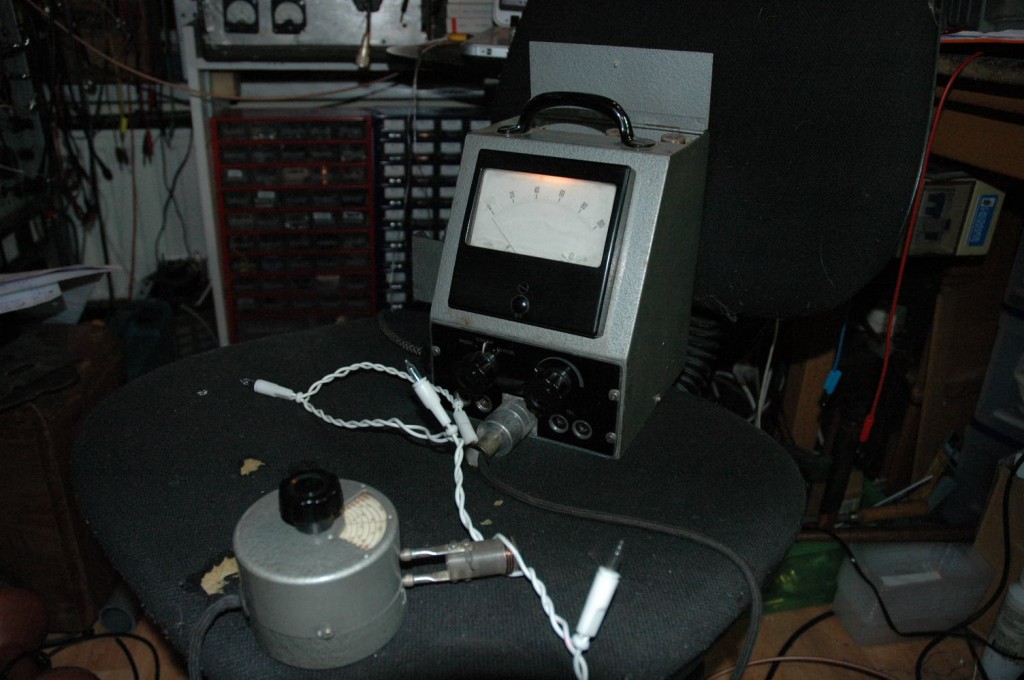
An other method that worked was a grid dipper. The string showed resonance at 65 MHz. On the first picture you see the meter after a defect lightbulb. The second picture shows a mega dip after a good lightbulb.
An other way is to just power up the string and take out the middle bulb. Take a 10:1 probe, do not use ground and measure both contacts. You will see a high and a low amplitude. The defect is on the low side. Then take the half of that piece, remove the bulb and test again. If you find a lightbulb that has two equal amplitudes you found the bad one.
