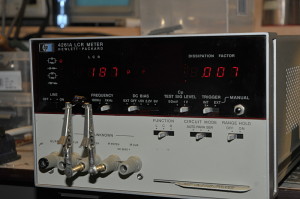
This HP is like mine 4260 from the Japanese Factory and although the name and looks are related the inside is not. It looks to be in fine shape and is scheduled for calibration. The company who owns this meter asked me to give it some TLC. Calibration is not cheap and this way you tackle possible problems before making double expenses (because after a future repair the calibration is lost)
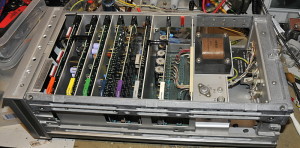
A lot of PCB’s and like most HP from that periode very well build. It is very easy to service, Alignment and calibration is relative simple and can be done without PCB extenders. For repair/trouble shooting extenders make live more easy.
After cleaning the inside, lubricating and cleaning switches it was time to check the psu. This is the most important part to check first. An instrument can not function optimal with a psu problem. I replaced three electrolytic caps. They were not dead yet but a DF of almost 1 is not great. The replacements have a DF of 0.1.
It is very temping to go around with an ESR meter but better is the use of your scope. There are 5 big caps in the psu. Ripple was good but I checked them individually too, this because this instrument has a lot of capacitance compared to the power consumption. They are not installed for a bling bling effect. The capacitance was still good, there was no abnormal leakage current (< 50 uA) and DF better as most modern caps.
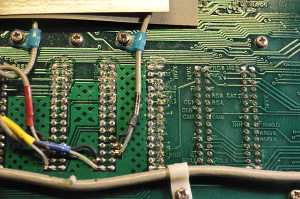
But after replacing the boards there was a problem. The readings made no sense. The cause turned out to be on the backplane.
Something damaged the protective film on the PCB. Because there were flux and resolder traces I think someone used a flux that is not suitable for electronics. I removed the old solder and resoldered the connectors. After that and a fresh alignment the meter is ready for official calibration.
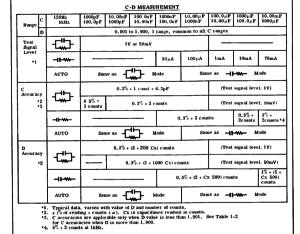
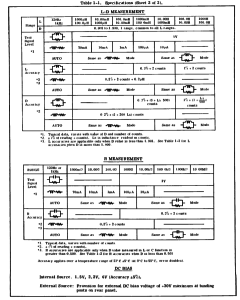
Specs are very good:
